Smart Business Storage Solutions for Small Business Owners
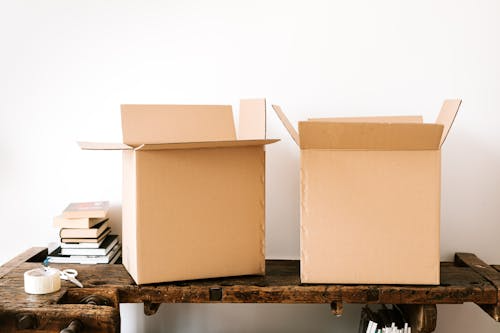
Running a business means juggling a lot: inventory, equipment, documents, supplies, packaging materials, seasonal overflow, and a hundred little things that need a home. And for many business owners, the biggest challenge is… space.
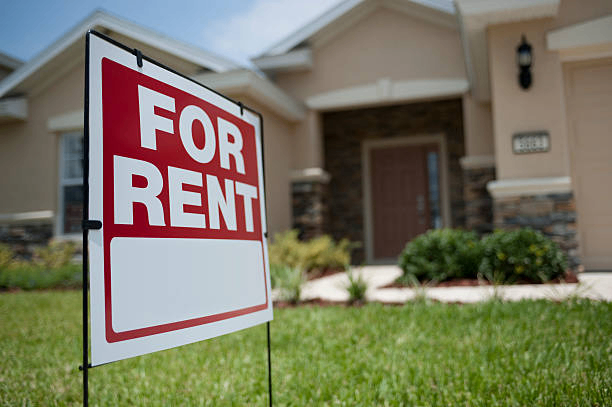
Maybe your office is overflowing with last season’s products. Maybe your spare room is turning into a warehouse. Or maybe rising commercial rents are forcing you to rethink how and where you store the items that keep your business running.
That’s where business storage comes in.
In this complete guide, we’re walking you through everything business owners need to know, from the different options available to how much it costs and how it can help your business run more efficiently. Whether you’re a solo business owner or managing a growing team, this guide is your starting point for building a simpler, more organized, more scalable operation.
Let’s dive in!
What Is Business Storage?
Business storage is a secure, flexible, and cost-effective way to store items your company doesn’t need to keep on-site every day. Think of it as extra breathing room for your business, without the high cost of renting more office or commercial space.
The right storage solution supports how your business actually works.
That means easy access when you need it, reliable security, predictable month-to-month pricing, and space for everything from tools and equipment to inventory, documents, and supplies.
As more businesses shift to hybrid work, downsize offices, and focus on staying agile, business storage has become a smart, practical solution.
And the truth is, most businesses don’t need more office space. They just need a better place to store the things that keep them running.
What Types of Businesses Benefit From Business Storage?
Almost any small business can benefit from extra storage, but some rely on it more than others. If you fall into one of these categories, the right storage setup can make a noticeable difference in both your day-to-day workflow and your monthly overhead.
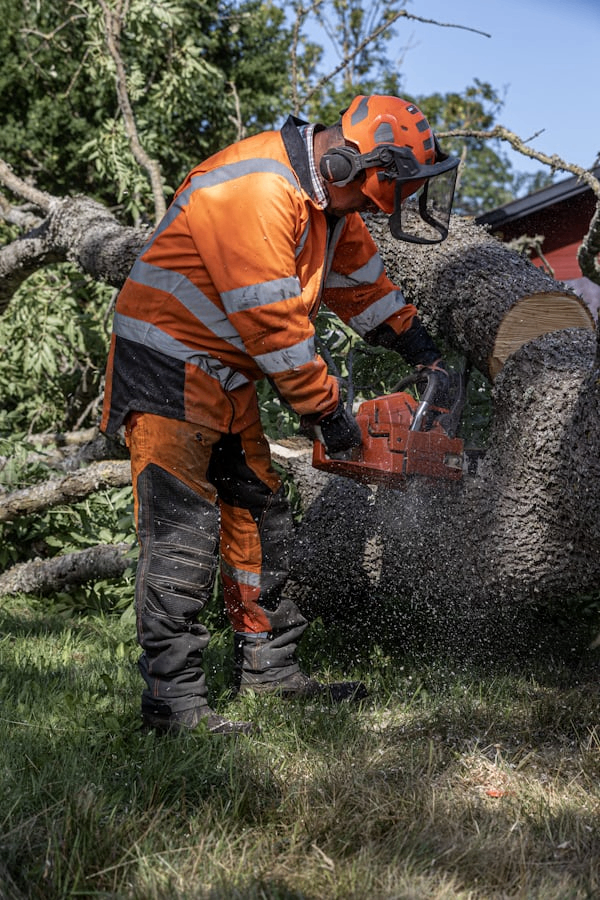
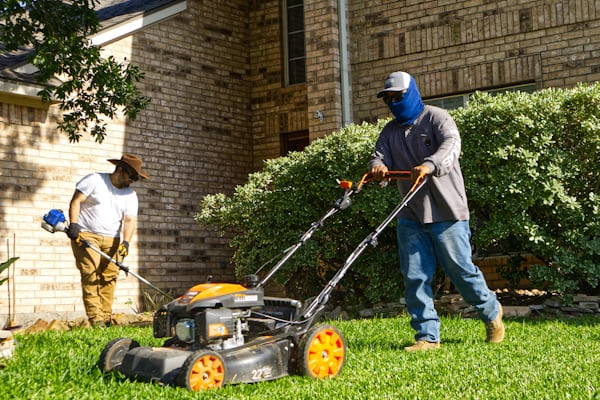
Service-Based Businesses
Contractors, plumbers, electricians, landscapers, cleaners, and other service pros often handle a lot of gear. Tools, spare materials, ladders, safety equipment, it all adds up.
Keeping everything crammed into a garage or packed van can slow you down and wear out your equipment. Business storage gives you a safer, more organized solution that keeps everything in one place, so you can grab what you need and get to the job faster.
Product-Based Businesses (E-Commerce, Retail, Etsy Sellers)
Inventory is essential, but it can quickly take over your workspace. From stock and packaging materials to printing supplies and seasonal items, product-based businesses often outgrow their storage long before they outgrow their business.
A reliable storage solution helps keep your inventory safe, organized, and ready to ship, no matter how busy your order volume gets.
Creative Professionals
Photographers, event planners, videographers, graphic designers, and stylists often have bulky items they don’t use every day: props, backdrops, lighting gear, signage, decor, and more.
Storing these items off-site but within easy reach frees up space at home or in the studio and helps protect delicate (and often expensive) equipment.
Real Estate Agents & Property Managers
Real estate professionals deal with more “stuff” than most people expect. Yard signs, staging decor, tools, maintenance supplies, and boxes of paperwork can easily pile up.
Storage keeps everything in one secure place instead of scattered across offices, cars, and spare rooms.
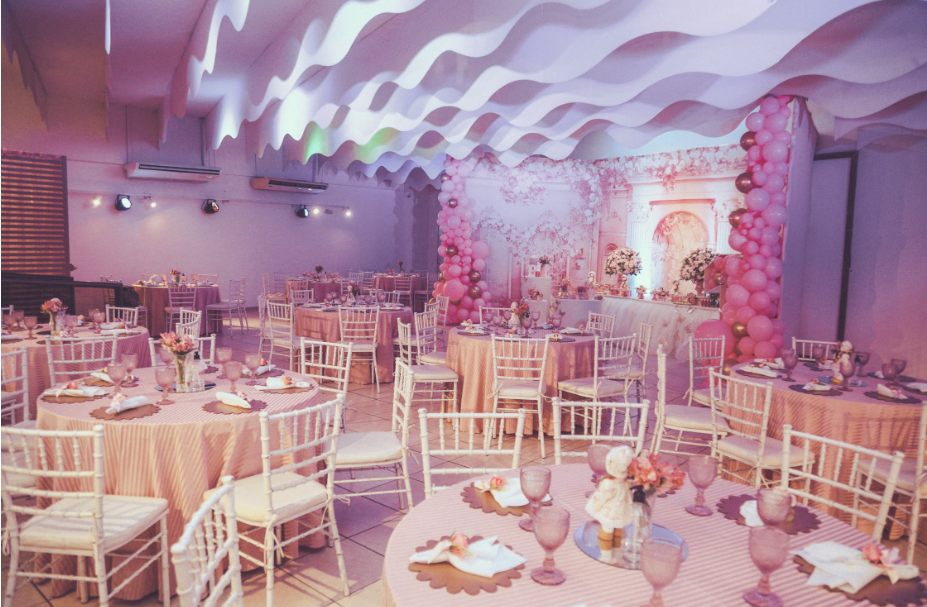
Food, Hospitality, & Event Businesses
While storage units aren’t suitable for perishable food, they’re incredibly useful for storing:
- Seasonal outdoor furniture
- Extra appliances
- Decor
- Event equipment
- Non-perishable supplies
Restaurants, caterers, and event companies love storage to keep things clean and organized during slower months or seasonal shifts.
Nonprofits & Community Organizations
Nonprofits often operate with limited office space but still need room for donation items, signage, documents, event equipment, and supplies. A secure off-site storage solution provides breathing room and better organization.
Business Storage Units: What’s Available?
Not all storage options work the same way. The right choice depends on your business size, how often you need access, and what you’re storing.
Here’s a breakdown of the most common options and who they work best for:
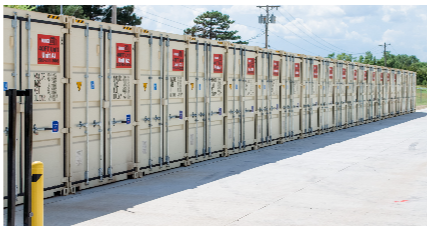
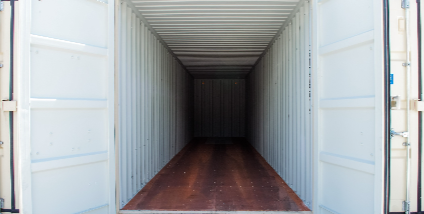
Self-Storage Units
Self-storage units offer fixed sizes with flexible terms, making them a practical option for many small businesses.
What this looks like for a business:
- Month-to-month rentals: No long-term commitments. Scale your space up or down as your needs change.
- Multiple unit sizes: From small units for documents or supplies to larger units for inventory or furniture.
- Convenient access: Many locations offer 24/7 access, drive-up units, gated entry, and secure locks.
- Waterproof options: Ideal for items sensitive to heat, cold, or humidity.
Who this is best for:
- Business with seasonal inventory or fluctuating stock levels; easy to scale space up or down as needed.
- Small businesses or startups that don’t want to commit to long-term leases.
- Companies looking for cost-effective alternatives to traditional warehouse space, especially when they need secure storage but not a full warehouse contract.
- Businesses that need quick access to stored items, without the hassle of long travel, complicated leases, or large upfront commitments.
Warehouse Storage
Warehouse storage works well for high-volume businesses that need loading docks, forklifts, and large-scale inventory handling.
That said, warehouses are usually more expensive and often require long-term contracts, making them less practical for small or growing businesses.
Office Storage Rooms
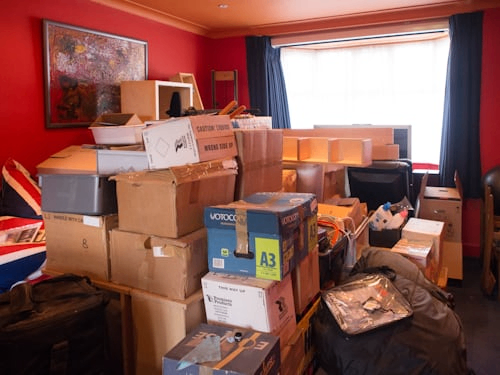
Many small businesses try to store everything in-house until they realize that numbers don’t add up. Office space is expensive, and using it for boxes, inventory, or equipment isn’t the best use of premium square footage.
In most cases, moving excess items to storage is far more cost-effective than paying office rent for storage space.
Portable Storage Containers
Portable containers can be useful for construction sites or short-term events. However, they’re not ideal for long-term storage of sensitive items due to limited security and a lack of climate control.
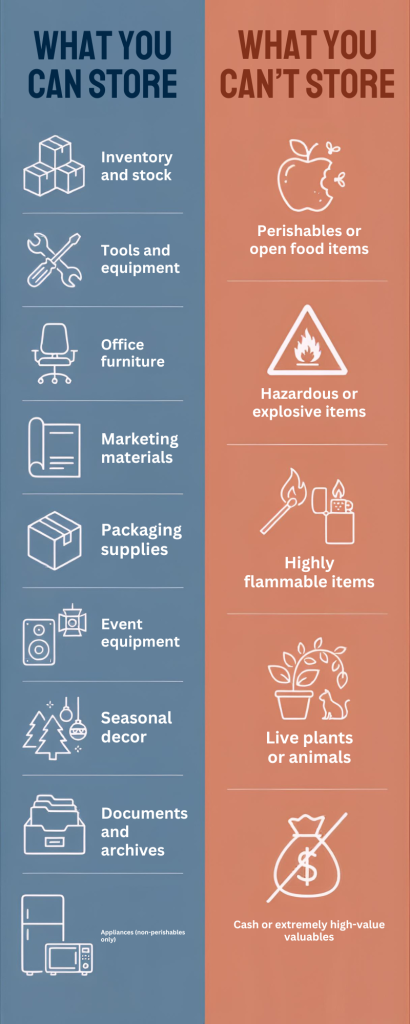
What You Can (And Can’t) Store in Commercial Storage Solutions
Most business items are perfectly suitable for secure, off-site storage. But there are a few exceptions.
What you can store:
- Inventory and stock
- Tools and equipment
- Office furniture
- Marketing materials
- Packaging supplies
- Event equipment
- Seasonal decor
- Documents and archives
- Appliances (non-perishables only)
What you can’t store:
- Perishables or open food items
- Hazardous or explosive items
- Highly flammable items
- Live plants or animals
- Cash or extremely high-value valuables
The general rule is: if it’s safe, non-perishable, and legal, it’s probably allowed.
How Much Does Business Storage Cost?
Your monthly storage costs depend on a few factors: how much space you need, what you’re storing, and the type of unit you choose. To give you an idea, here’s a rough breakdown of storage costs depending on the unit size:
- Small units (5×10): $40 – $100
Perfect for documents, marketing materials, small supplies, or a few boxes of inventory.
- Medium units (8×10 or 8×20): $60 – $250
Ideal for growing businesses with extra inventory, small furniture, or equipment.
- Large units (8×40): $200 – $400
Great for high-volume inventory, large office furniture, or even vehicles.
These ranges give you a helpful starting point, but keep in mind that your actual cost can vary based on availability, unit features, and the length of your rental.
Choosing the Right Storage for Your Business
Choosing the right setup depends on how your business operates day to day. Here’s what to consider as you evaluate your options:
- Calculate Your Business Storage Needs
Start by taking stock of what you actually need to store:
- How much inventory do you have today
- How it fluctuates seasonally
- Equipment and furniture dimensions
- Packaging materials, supplies, and promotional items
- How often do you need to access items
Getting a clear picture of your storage needs prevents overpaying for extra space or running out of room too soon.
- Choose the Right Type of Storage
Storage comes in different forms, each suited to different business needs.
Self-storage units are flexible, secure, and cost-effective for most small to medium businesses. Warehouse-style storage works for high-volume operations, while portable containers are great for temporary projects.
Think about how your business operates day-to-day and what will make access, loading, and unloading easiest.
Choose the Right Size
Choosing the right size ensures your items are organized, protected, and accessible without wasting money on unused space. Follow these steps:
- Assess Your Inventory: List everything you plan to store, including quantities and any items that require special care or climate-controlled storage.
- Measure Your Items: Know the dimensions of your largest items to visualize how much space you’ll need.
- Consider Your Storage Needs: Do you need climate control for sensitive items? Drive-up access for frequent loading?
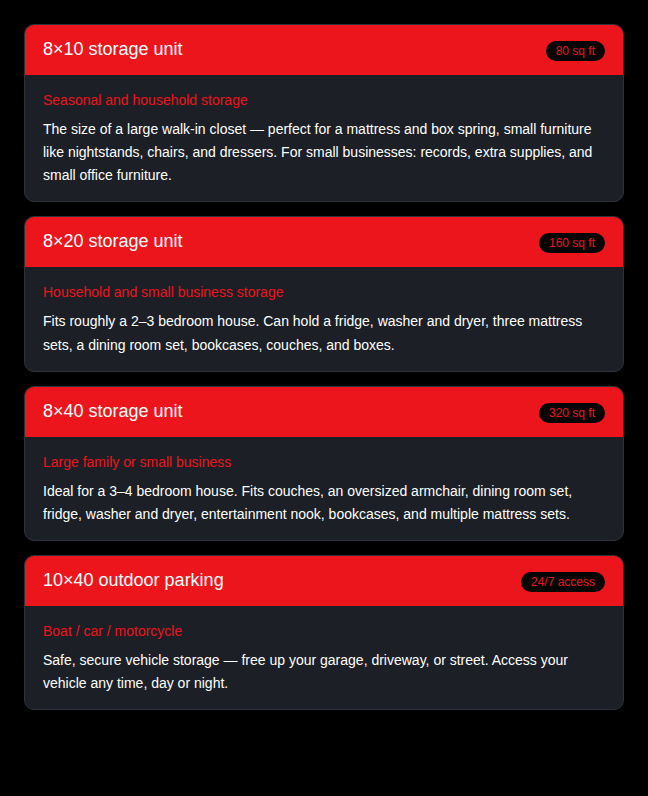
- Match to a Unit Size: Use your assessment to select a storage unit size that fits your business. Here are some common options for business storage:
5’ x 5’ (25 sq ft): Great for small businesses needing to store paper documents, marketing materials, or a few boxes of supplies.
5’ x 10’ (50 sq ft): Ideal for storing excess inventory, small office furniture, or equipment for a growing business.
10’ x 10’ (100 sq ft): Perfect for medium-sized businesses with larger storage needs, such as bulk inventory, machinery, or multiple pieces of office furniture.
10’ x 20’ (200 sq ft) and up: Best for businesses with extensive inventory, large equipment, or even vehicles that need secure, accessible storage space.
Choosing the right size keeps costs down, avoids wasted space, and keeps your business flexible as storage needs change.
Check Security Measures
Keeping your business items safe is a top priority when choosing a storage solution. Look for facilities with secure access, like electronic gates and surveillance cameras, for added peace of mind.
Convenient access hours let you get to your stored items whenever you need, while drive-up access makes loading and unloading supplies or equipment fast and hassle-free, helping your operations run smoothly.
How Business Storage Improves Efficiency and Profitability
Smart storage isn’t just about saving space; it’s about creating a more efficient, organized, and profitable business.
When your storage system works with your operations (rather than against them), the impact is felt throughout your entire workflow.
- More room in your workspace
Clutter makes it harder to focus, slows down daily tasks, and eats up valuable square footage. By moving non-essential or non-daily items off-site (such as excess inventory, equipment, or seasonal supplies), you free up space for the things that actually drive your business forward.
A cleaner, more organized workspace helps teams work more comfortably, stay focused, and get more done in less time.
Office and commercial space is expensive when used to store boxes rather than to support customers or employees.
Business storage provides a cost-effective alternative, allowing you to reduce the amount of office or warehouse space you need. This can lead to meaningful savings on rent, utilities, and overhead, without sacrificing access to your inventory or equipment.
- Better organization and inventory control
Using dedicated storage helps you keep inventory, tools, and materials organized and protected.
With a structured storage system in place, it’s easier to track what you have, avoid over-ordering, reduce damage or loss, and quickly retrieve what you need when you need it. For growing businesses, this level of organization can significantly improve day-to-day efficiency.
- A more professional customer experience
When your workspace isn’t overcrowded with boxes or equipment, it shows.
A clean, organized office or storefront feels more professional and welcoming to customers and clients. Faster order fulfillment, easier access to products, and a more polished environment all contribute to a better customer experience, one that builds trust and supports long-term growth.
- Scalability for growing businesses
As your business grows, your storage needs will change. A flexible storage solution allows you to scale up during busy seasons or expansion phases, and scale back when things slow down, without major financial commitments. That flexibility helps protect cash flow while supporting long-term growth.
Why Choose MyStorageBox for Your Storage Needs
MyStorageBox makes business storage easy, flexible, and stress-free, exactly what small business owners need.
- Month-to-month rentals: Instead of complicated contracts or hidden fees, you get clear monthly pricing, no long-term commitment, and a setup that works around your schedule.
- Fast check-in process: You can rent a storage unit online in minutes, manage payments digitally, and access your unit 24/7, whenever your business needs it.
- Drive-up access: Every unit comes with a drive-up access, so loading and unloading inventory, equipment, or supplies is quick and simple.
- Safety comes first: MyStorageBox facilities feature gated access, perimeter fencing, and 24/7 video monitoring, so you can feel confident that your business items stay protected at all times.
- Free lock: A free lock is included, which means one less thing to worry about when getting started.
Whether you’re storing extra inventory, tools, furniture, or documents, MyStorageBox gives you a simple, affordable way to create more space and keep your business running smoothly.
Conclusion: Smarter Storage Helps Businesses Grow
Running a business is demanding enough, and storage shouldn’t be another problem to solve. The right storage solution can help you cut clutter, lower operating costs, and create a workspace that actually works for you.
By moving non-essential items off-site, businesses can free up valuable space, improve organization, and stay flexible as their needs change. Whether you’re storing inventory, equipment, documents, or seasonal items, smart storage allows you to focus on what really matters: serving customers and growing your business.
MyStorageBox makes business storage simple, flexible, and cost-effective, giving you the space to grow without unnecessary commitments or overhead.
Ready to optimize your space and streamline your operations? Call us at (580) 300-3006!